Deploying a Highly Available K3S Kubernetes Cluster in my Homelab

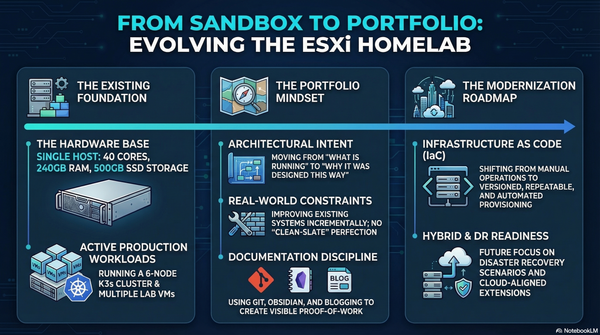
Over the last few months, I have been investing more time in Kubernetes. Running containers locally with Docker is great, but if you want to properly understand orchestration, scaling, and how modern infrastructure works, you eventually need a real cluster.
Instead of spinning up cloud resources and paying for them every month, I decided to build a Kubernetes cluster directly inside my homelab.
In this post, I will walk through how I deployed a highly available K3S Kubernetes cluster using 6 virtual machines running on ESXi.
The cluster consists of:
- 3 controller nodes
- 3 worker nodes
- Ubuntu Server 24.04 LTS
- K3s with embedded etcd
K3S is a lightweight Kubernetes distribution designed to run even on resource-constrained environments, which makes it perfect for homelabs while still remaining fully compatible with upstream Kubernetes.
Homelab Architecture
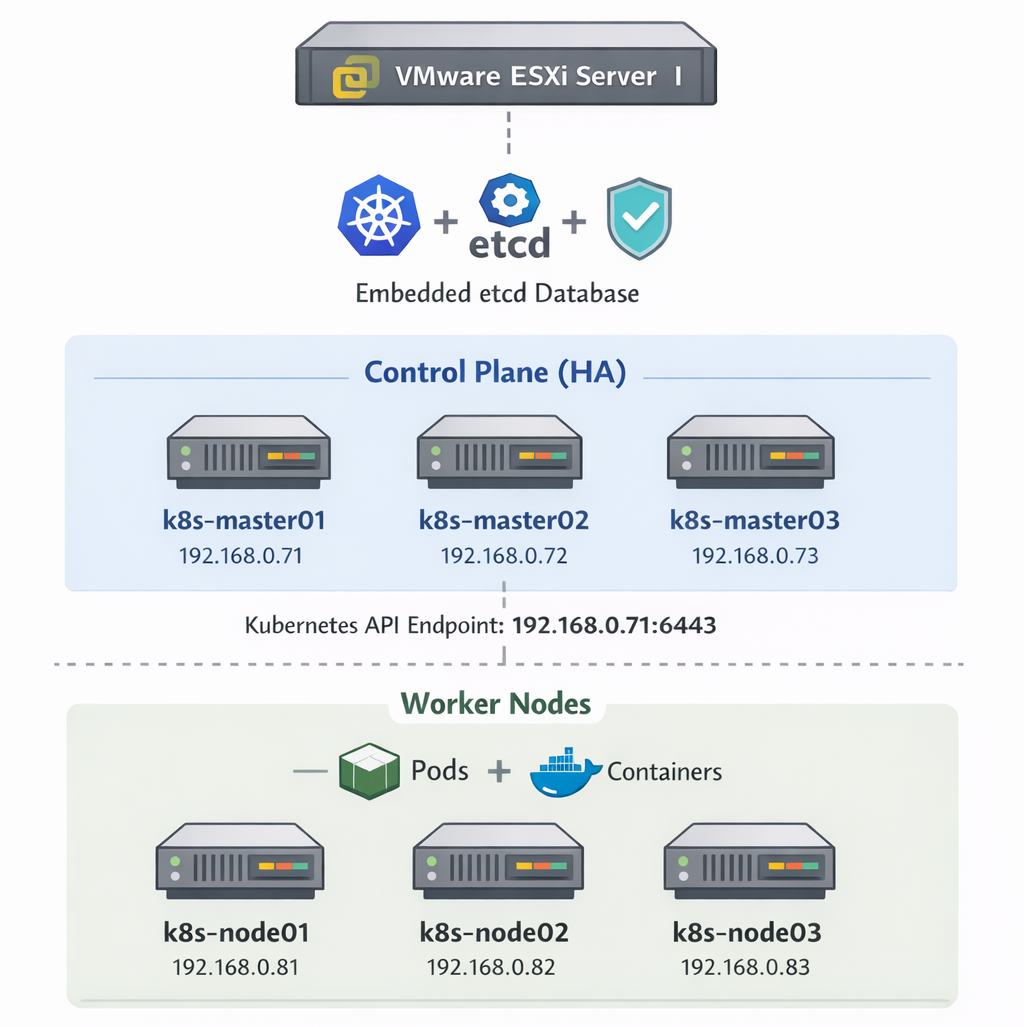
The cluster is deployed on my ESXi server using six Ubuntu virtual machines.
Controller Nodes
k8s-master01 192.168.0.71
k8s-master02 192.168.0.72
k8s-master03 192.168.0.73
Worker Nodes
k8s-node01 192.168.0.81
k8s-node02 192.168.0.82
k8s-node03 192.168.0.83
All machines run:
Ubuntu Server 24.04.1 LTS
The design follows a typical Kubernetes architecture where the control plane manages the cluster, and worker nodes run workloads.
Why K3S?
There are many ways to run Kubernetes in a lab:
- kubeadm
- microk8s
- kind
- k3s
For this homelab, I chose K3S for several reasons:
- Extremely simple installation
- Lightweight resource usage
- Single binary
- Production-ready
- Perfect for multi-node labs
It allows you to create a working Kubernetes cluster with only a few commands.
Step 1 – Preparing the Nodes
Run these steps on all six servers to update the packages and disable swap
sudo apt update && sudo apt upgrade -y
sudo swapoff -a
sudo sed -i '/ swap / s/^/#/' /etc/fstab
Step 2 – Configure Hostname Resolution
On each node update the /etc/hosts file with the following
192.168.0.71 k8s-master01
192.168.0.72 k8s-master02
192.168.0.73 k8s-master03
192.168.0.81 k8s-node01
192.168.0.82 k8s-node02
192.168.0.83 k8s-node03
Step 3 – Create a Shared Cluster Token
K3S nodes join the cluster using a shared token.
Example (you can use your own secure value):
MyVeryStrongK3sToken123!Step 4 – Install the First Controller
On k8s-master01 initialize the cluster.
curl -sfL https://get.k3s.io | \
INSTALL_K3S_EXEC="server --cluster-init --tls-san 192.168.0.71" \
K3S_TOKEN="MyVeryStrongK3sToken123!" sh -
Verify services:
sudo systemctl status k3sCheck the node:
sudo kubectl get nodesYou should see the first control plane node ready.
Step 5 – Join the Other Controllers
On k8s-master02 and k8s-master03 run:
curl -sfL https://get.k3s.io | \
INSTALL_K3S_EXEC="server --server https://192.168.0.71:6443 --tls-san 192.168.0.71" \
K3S_TOKEN="MyVeryStrongK3sToken123!" sh -
Now check the cluster:
kubectl get nodesYou should see three control plane nodes.
Step 6 – Add Worker Nodes
On each worker node (k8s-node01, k8s-node02 and k8s-node03) run:
curl -sfL https://get.k3s.io | \
K3S_URL="https://192.168.0.71:6443" \
K3S_TOKEN="MyVeryStrongK3sToken123!" sh -
Step 7 – Verify the Cluster
Run from one of the controllers:
kubectl get nodes -o wideExpected result:
NAME           STATUS   ROLES
k8s-master01   Ready    control-plane
k8s-master02   Ready    control-plane
k8s-master03   Ready    control-plane
k8s-node01     Ready    worker
k8s-node02     Ready    worker
k8s-node03     Ready    worker
Accessing the Cluster
The kubeconfig file is located on the controller:
/etc/rancher/k3s/k3s.yamlCopy it to your workstation and update the API server address:
https://192.168.0.71:6443You need to have kubectl installed in your workstation before running the following command:
kubectl get nodesFinal Thoughts
Running Kubernetes in a homelab is one of the best ways to really understand how modern infrastructure works. You can experiment freely without worrying about cloud costs while building real operational knowledge.
This setup gives me:
- A highly available control plane
- Dedicated worker nodes
- A playground for testing workloads
- A platform for future projects like:
- GitOps
- CI/CD pipelines
- monitoring stacks
- service meshes
In the next steps, I will likely add:
- a load balancer or virtual IP
- MetalLB
- monitoring with Prometheus and Grafana
- GitOps with ArgoCD
Homelabs tend to grow quickly once you start experimenting.
And that is part of the fun.